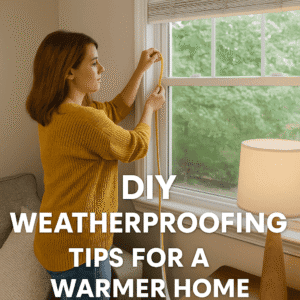
How to Install Weather Stripping for Maximum Savings
Looking to save money on your utility bills while improving comfort in your home? One of the most cost-effective DIY projects you can tackle is to install weather stripping around doors and windows. When you install weather stripping, you seal out drafts, prevent energy loss, and create a barrier against outside elements like dust, moisture, and insects. Whether you’re prepping for winter or trying to keep your home cool during summer, taking the time to install weather stripping is a smart move that yields long-term savings and improved energy efficiency. In this guide, we’ll walk you through everything you need to know to get started with this essential upgrade.
Throughout this guide, we’ll reference related content to help you build a cohesive home improvement strategy:
- ➤ The Ultimate Guide to Home Energy Efficiency
- ➤ How to Perform a Home Energy Audit: Step-by-Step Guide
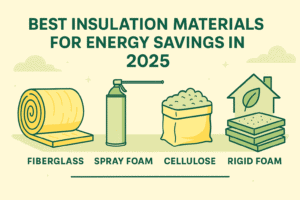
- ➤ Best Insulation Materials for Energy Savings
Why Weather Stripping Matters
Properly sealing gaps around doors and windows is essential for:
- Reducing drafts & air leaks
- Stabilizing indoor temperature
- Lowering energy bills (up to 10–15%)
- Improving HVAC efficiency
- Enhancing comfort & noise reduction
Weather stripping is one of the highest-ROI insulation strategies you can do yourself—fast, affordable, and effective. But only if installed correctly!
Common Air Leak Locations
Typical sources of drafts include:
- Door frames (top, sides, thresholds)
- Window sashes (operable windows)
- Recessed lighting and plumbing penetrations
- Garages and attic access doors
- Fireplace damper seals
Focusing on these problem areas is a key step in performing a thorough home energy audit.
Types of Weather Stripping
Choosing the right material influences longevity and performance:
| Material | Best Use | Pros | Cons |
|---|---|---|---|
| Foam tape | Doors, auction windows | Cheap, easy install | Compresses over time, needs replacement |
| V-strip / tension seal | Double-hung windows, doors | Long-lasting, durable | Slightly harder to install |
| Felt | Window sash, interior doors | Very inexpensive, easy to apply | Poor air sealing over time |
| Rubber bulb/gasket | Weather-tight doors | Excellent seal, lasts long | Requires precise fit and fasteners |
| Silicone/EPDM V-seal | Windows, patio doors | Great resilience and sealing | Pricier than foam tape |
| Door sweeps | Bottom of doors | Blocks drafts under doors | Needs measurement & alignment |
Step-by-Step: Preparation
A. Tools & Materials Required
- Appropriate weather-stripping
- Utility knife, scissors
- Screwdriver, drill (for sweeps/gaskets)
- Caulk and caulk gun
- Alcohol or cleaning solution
- Tape measure
- Pencil
B. Safety First
- Work during mild weather (50–80 °F)
- Use gloves, goggles
- Be careful with sharp tools
- Ensure ladders are stable for second-story windows
C. Map Draft Locations
Perform a heat leak test using infrared thermometers or incense sticks. Focus your weather stripping efforts accordingly.
Door Weather Stripping Installation
A. Remove Old Seal
Peel off old weather stripping; clean surface thoroughly and let dry.
B. Measure & Cut
Measure door jambs and threshold; cut stripping to fit snugly, avoiding gaps at joints.
C. Apply Foam Tape
Remove adhesive backing, press firmly along doorknob, hinge, and strike side. Leave uncompressed.
D. Install Door Sweeps
Attach to the bottom of the door, trimming excess. Adjust height so it lightly brushes threshold.
E. Install Rubber Bulb/Gasket
Attach via nails or adhesive at corners and top. Make sure the door closes easily, with slight friction.
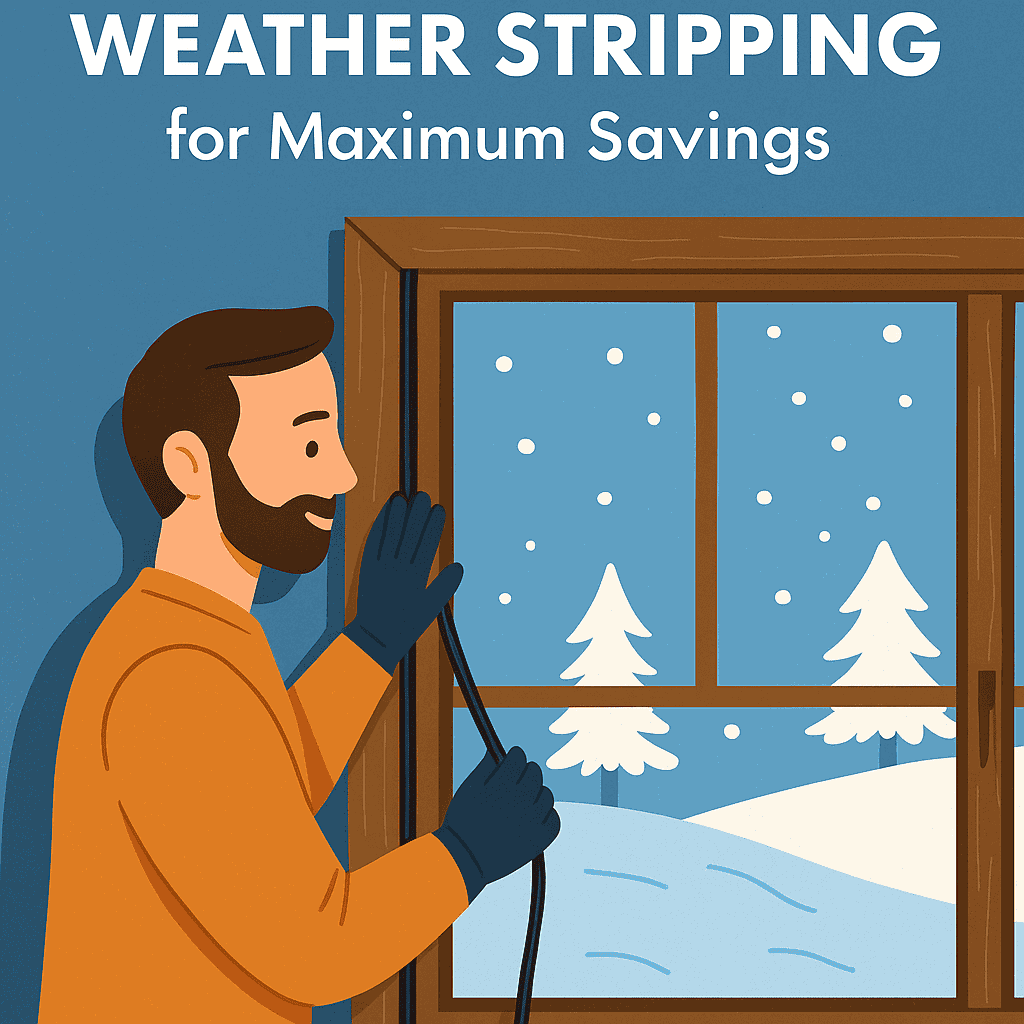
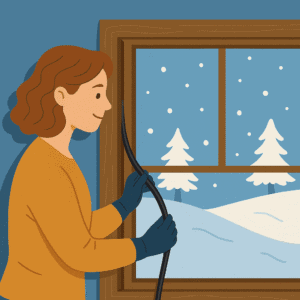
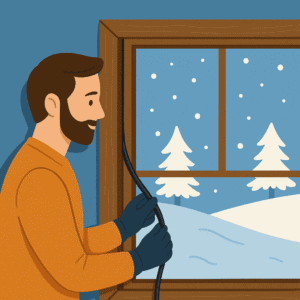
Window Weather Stripping Installation
A. Clean Window Frame
Remove paint/excess debris to ensure airtight seal.
B. Choose Your Strip Type
For sash windows, V-strip is durable. For sliding windows, use rubber gasket seals.
C. Install
Press V-strip into channel; ensure fold points inward. Use gasket strips on sliding window grooves.
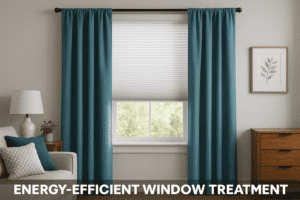
Combined Thermal Methods
- Interior window film reduces conduction by ~30%
- Thermal curtains add R-2 to R-7 insulation
- Install door sweeps and pillow beneath interior pass-throughs
Inspect & Test the Seals
- Use infrared camera or candle flame method
- Conduct after-weather stripping flush
- Make additional tweaks to remove residual drafts
Maintenance & Longevity
- Check seals at start of season
- Replace foam tapes every 2–3 years
- Lubricate gaskets with silicone spray
- Reapply after painting or shifting
Winter Energy Saving Tips Integration
Weather stripping is one of many steps. Combine with:
- Home insulation
- Smart thermostat usage
- Energy-efficient appliances
- Smart gadgets
- Winter heating strategies
This makes a complete energy efficiency toolkit.
DIY vs Professional Installation
DIY is affordable (~$50–200 per home) and fast (a few hours). Professionals offer deeper sealing (e.g., blower door testing) but cost more. Check contractor quotes carefully.
Cost-Benefit Analysis
Replacing weather stripping costs $2–10 per foot. Typical doors/windows need $50–$200 of material. Reduced drafts can save $100–$200 annually—ROI in 1–2 years.
Seasonal Reminders
- Fall: Check seals before heating starts
- Winter: Inspect mid-season
- Spring: Retrench if needed
- Summer: Switch or add storm doors/screens
Success Story: Homeowner Case Study
Example: Texas homeowner sealed 8 doors/windows with V-seal and sweeps. They reported 15% drop in winter gas bills (~$200/year). Combined with thermostat strategies, total savings reached 25%.
Conclusion
In conclusion, learning how to install weather stripping is one of the smartest home upgrades you can make, especially if you’re aiming to enhance comfort and energy efficiency year-round. With the right tools and materials, anyone can install weather stripping in just a few hours, reaping benefits that last for years. From reducing drafts to lowering your energy bills, this simple DIY task helps maintain indoor temperatures without overloading your HVAC system.
If you’re serious about making your home more energy efficient, don’t overlook the power of sealing gaps and leaks. Whether you live in a cold climate or a hot one, when you install weather stripping around your doors, windows, and attic access points, you create a tighter envelope that resists energy loss. Combine this with other insulation techniques to see even bigger returns.
Remember, to truly maximize savings, revisit your seals every season and re-install weather stripping if signs of wear or damage appear. This small effort can result in big gains, not just in money saved, but in overall home comfort. Start small, start smart, and install weather stripping where it matters most.
FAQs
To keep this guide streamlined, access detailed questions in the FAQ block below.
What is the best weather stripping to install?
The best type depends on location: rubber bulb or V-strip for doors and sash windows, foam tape for small gaps, and door sweeps for bottoms. Choose durable materials like EPDM for long-term savings.
Can I install weather stripping myself?
Yes—most homeowners can DIY with basic tools in a few hours. Focus on measuring accurately, cleaning surfaces, choosing the right material, and testing seals afterward.
How much energy can I save by installing weather stripping?
Properly installed weather stripping can help reduce heating and cooling bills by 10–15%. In some homes, savings can be up to 20% when combined with insulation and HVAC improvements.
When should I replace weather stripping?
Inspect seals each season. Foam tape or felt often needs replacement every 2–3 years; rubber seals can last 5–7 years if well-maintained. Replace broken, cracked, or compressed seals immediately.
Suggested Reads:
- Energy-Saving Myths Busted: Discover the Shocking Truth About What Really Works!
- Smart Gadgets for Efficiency
- How Smart Thermostats Save You Money: Complete Guide
This post was on How to Install Weather Stripping for Maximum Savings