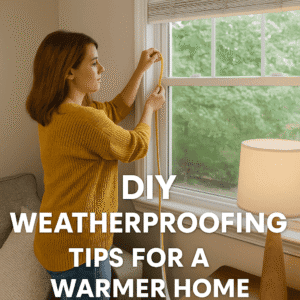
DIY Weatherproofing: Tips for a Warmer Home
As energy prices continue to climb and the effects of climate change become more pronounced, taking control of your home’s energy efficiency is more important than ever. One of the most impactful and budget-friendly strategies is DIY weatherproofing. Whether you’re dealing with chilly drafts in winter or hot air intrusion in summer, simple weatherproofing solutions can significantly enhance your home’s comfort while reducing energy bills.
In this ultimate guide to DIY weatherproofing, we’ll walk you through everything you need to know, from identifying problem areas to choosing the right materials and applying proven weather-sealing techniques. If you want to take charge of your energy consumption without hiring professionals, you’re in the right place.
What is DIY Weatherproofing?
DIY weatherproofing refers to the process of sealing your home against unwanted air leaks, moisture, and temperature fluctuations using do-it-yourself methods and materials. Unlike complex insulation jobs or structural retrofits, DIY weatherproofing is achievable with minimal tools, basic materials, and a little bit of effort.
Weatherproofing isn’t just about staying warm, it’s about keeping your home energy efficient all year round. Sealing gaps, insulating windows, and addressing attic or crawlspace leaks are just a few ways to make a noticeable difference.
Did you know? According to the U.S. Department of Energy, air leaks can account for up to 30% of a home’s heating and cooling costs. Imagine slashing that by half with simple weekend projects.
Why DIY Weatherproofing Matters
Weatherproofing is one of the most effective home improvement investments you can make. Here’s why it matters:
- Reduces energy costs by minimizing heating and cooling loss.
- Improves indoor comfort by reducing drafts and cold spots.
- Protects against mold and mildew by limiting moisture infiltration.
- Extends the life of HVAC systems by reducing workload.
- Boosts your home’s resale value with better energy efficiency.
If you’re trying to cut back on electricity usage, also explore our post on Common Energy Wasting Mistakes and How to Fix Them.
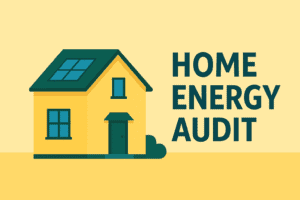
Start with a DIY Home Energy Audit
Before applying any fixes, assess your home’s vulnerabilities. Start with a DIY home energy audit:
- Feel for drafts near doors, windows, baseboards, and electrical outlets.
- Inspect attic and basement areas for insulation issues or visible leaks.
- Look for moisture buildup around windows and ceilings.
- Use a candle or incense stick to detect airflow around doors and vents.
Want a printable checklist? Download our DIY Home Energy Audit Checklist (Free PDF).
Tools and Materials You’ll Need
Weatherproofing doesn’t require fancy tools. Here’s a basic shopping list for most projects:
- Weatherstripping tape
- Foam sealant
- Caulk (silicone or acrylic latex)
- Caulking gun
- Door sweeps
- Window film kits
- Insulating foam gaskets
- Draft stoppers
- Spray foam for large gaps
- Utility knife and scissors
- Ladder (for attic and window work)
These are inexpensive items available at most hardware stores or online. For larger DIY insulation projects, also consider Energy-Efficient Window Treatments.
Step-by-Step DIY Weatherproofing Tips
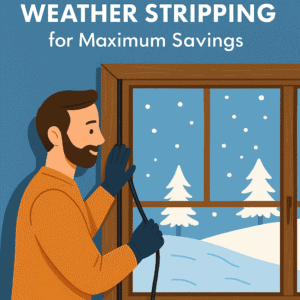
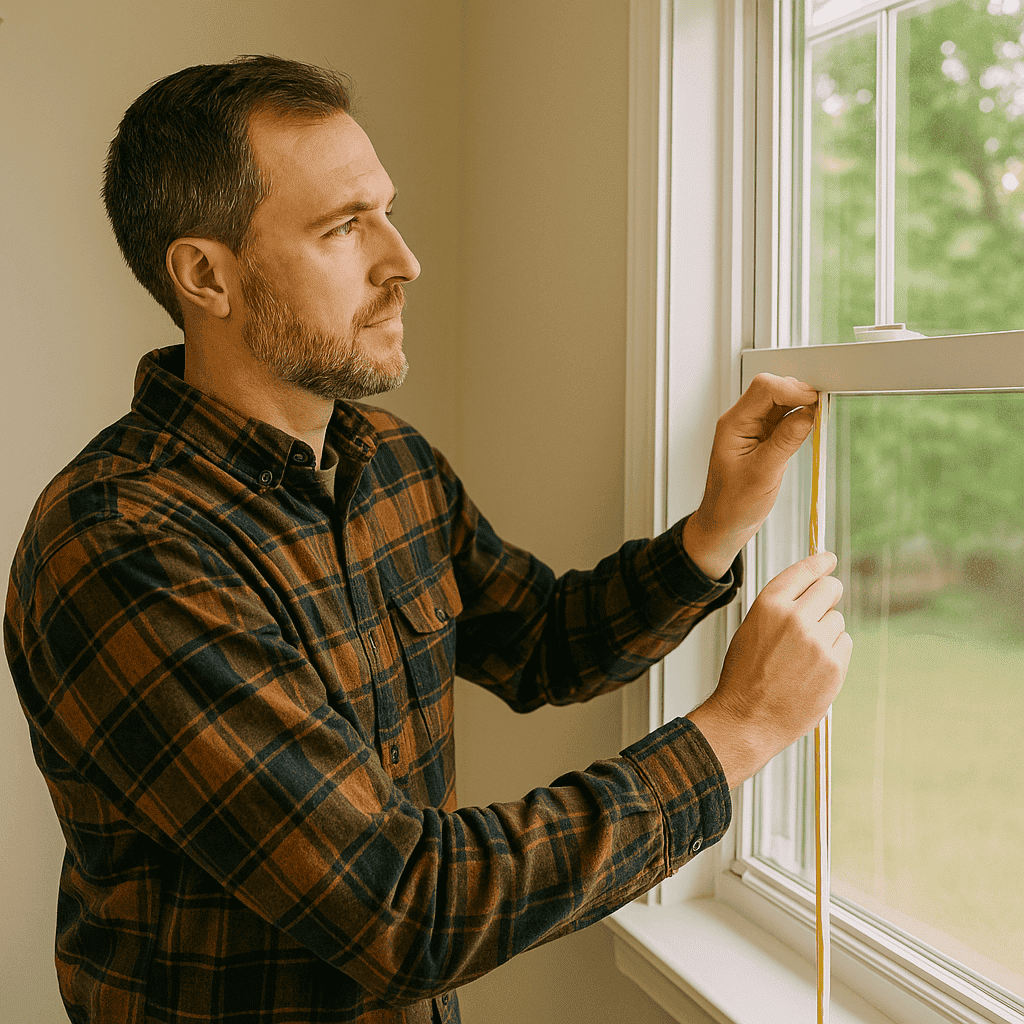
1. Seal Windows with Weatherstripping and Film
Windows are notorious for leaks. Apply adhesive-backed weatherstripping to the window sash and use a plastic shrink film kit for extra insulation.
- For single-pane windows, add insulating film in winter.
- For older wooden windows, consider rope caulk as a temporary fix.
- Use V-seal or foam tape for sliding or double-hung windows.
This alone can reduce window heat loss by up to 50%.
2. Weatherproof Exterior Doors
Exterior doors are another major source of heat loss.
- Install a door sweep at the bottom of the door.
- Apply foam weatherstripping around the frame.
- Add a door snake or draft stopper on extra chilly days.
Make sure the door latches securely without compressing the weatherstripping too much.
3. Insulate Outlets and Switches
Electrical outlets on exterior walls can allow cold air in.
- Remove the outlet or switch plate.
- Install a foam gasket behind the plate.
- Replace the cover tightly.
This is a 5-minute job per outlet but can collectively make a big difference.
4. Use Caulk to Seal Cracks and Gaps
Use silicone or acrylic latex caulk to seal:
- Cracks around window and door frames
- Gaps in baseboards
- Openings around pipes or vents
For exterior surfaces, make sure the caulk is rated for outdoor use.
5. Spray Foam for Bigger Gaps
Use expanding spray foam for larger gaps (over 1/4 inch), such as:
- Around plumbing penetrations
- Basement ceiling gaps
- Attic hatch frames
Be careful—spray foam expands a lot! Use low-expansion varieties for tighter control.
6. Seal Your Attic and Crawlspace
Heat rises—and escapes through the attic if not sealed properly.
- Add insulation baffles near vents to maintain airflow.
- Use foam board or rigid insulation around hatch openings.
- Install a weatherproof cover for attic access doors.
Basement crawlspaces also benefit from weatherproof barriers. Use a moisture barrier on the floor and seal foundation cracks.
7. Insulate Water Pipes and HVAC Ducts
Use pipe insulation sleeves to cover exposed water lines, especially in unconditioned spaces. This prevents heat loss and pipe freezing.
Seal HVAC ducts using foil-backed tape or mastic. Insulate ducts in crawlspaces or attics to improve efficiency.
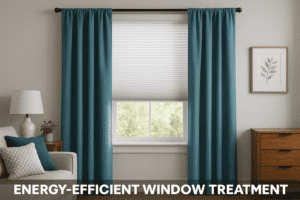
8. Upgrade Curtains and Blinds
Heavy thermal curtains or energy-efficient window treatments reduce heat transfer and are easy to install.
Look for products labeled as thermal-backed or insulating curtains and close them at night in winter to keep warmth inside.
9. Install Storm Doors and Windows (Optional)
If you have a bit more budget, storm doors and windows add a secondary barrier against the elements.
This isn’t a purely DIY task but can be installed with basic carpentry skills if you’re handy.
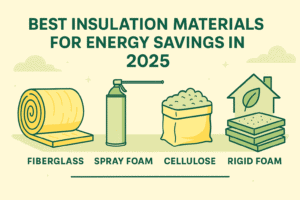
10. Add Insulation Where Needed
While not always part of weatherproofing, if you find areas that are completely uninsulated during your energy audit, consider adding insulation.
Focus on:
- Attics
- Crawlspaces
- Garage walls or ceilings
- Behind knee walls in attics
Seasonal Maintenance Tips
Weatherproofing is not a one-and-done task. Here’s what you should check each season:
Spring:
- Check for moisture damage
- Inspect seals and caulk from winter
Summer:
- Add sun-blocking curtains
- Inspect attic ventilation
Fall:
- Reapply door sweeps and seals
- Add insulation where needed
Winter:
- Tighten gaps around windows
- Use draft stoppers and thermal curtains
DIY Weatherproofing vs Professional Help
While DIY weatherproofing covers 80% of needs for most homes, sometimes professional help is needed, especially for:
- Major insulation installation
- Energy audits involving infrared scanning
- HVAC ductwork replacement
- Foundation sealing
But for the average homeowner, DIY weatherproofing provides quick wins with little investment.
Related Guides
Want to dive deeper? Check out these other energy-saving posts on The Watt Advisor:
- Top 10 Energy-Saving Tips for Winter
- Best Smart Plugs for Energy Savings
- How Smart Thermostats Save You Money: Complete Guide
- Solar Battery Storage: Is It Worth It in 2025?
Final Thoughts on DIY Weatherproofing
DIY weatherproofing is one of the most rewarding ways to save money and boost your home’s comfort. By sealing the cracks, insulating the gaps, and blocking drafts, you can significantly reduce your energy usage and carbon footprint.
Plus, with a little effort each season, your home will stay warmer in the winter, cooler in the summer, and more energy-efficient year-round.
Frequently Asked Questions (FAQs)
What is the most effective weatherproofing method?
Sealing doors and windows with weatherstripping and caulk provides the most noticeable results for minimal effort.
Can I weatherproof a rental property?
Yes! Use removable weatherproofing tools like draft stoppers, temporary window film, and door snakes. Avoid permanent caulk unless permitted by your landlord.
How much can DIY weatherproofing save?
Depending on your home’s initial state, you can save 10–30% on energy bills annually with basic weatherproofing.
Do I need to reapply weatherproofing materials?
Yes. Caulk may dry or crack over time, and weatherstripping wears out. Check annually and replace as needed.
Does weatherproofing help in summer?
Absolutely. Weatherproofing blocks hot air from entering and keeps cool air inside, reducing air conditioning costs.
This post was on DIY Weatherproofing: Tips for a Warmer Home