How to Seal Air Leaks in Home: Step-by-Step Guide to Save Energy (2025)
Every month, you pay your energy bills but what if a portion of that money is literally escaping through the cracks? Hidden air leaks in your home can silently drain your wallet, waste energy, and make your heating and cooling systems work overtime. The good news is, learning how to seal air leaks in home isn’t rocket science. It’s one of the most cost-effective and DIY-friendly ways to boost comfort, reduce energy waste, and lower your bills all year round.
In this complete step-by-step guide, you’ll learn exactly how to identify, locate, and seal air leaks in home like a pro, even if you’ve never done it before. We’ll go beyond the basic “use caulk and weather-stripping” advice and explore professional-grade methods, tools, and materials that deliver real, lasting results.
By the end of this post, you’ll know how to perform a mini home energy audit, seal gaps in walls, windows, attics, and basements, and even how to test your work to ensure your house is truly airtight. The best part? These fixes often pay for themselves within months through reduced energy costs.
If you’ve ever noticed cold drafts near your windows, fluctuating indoor temperatures, or higher-than-usual energy bills, this article is exactly what you need. You’ll discover:
- How to detect invisible air leaks using simple household tricks.
- The best materials for long-lasting insulation and sealing.
- Step-by-step methods to seal gaps in every part of your home.
- How sealing air leaks improves your HVAC efficiency and indoor comfort.
Let’s get started with the ultimate DIY guide to seal air leaks in home and reclaim the comfort, and savings, you deserve.
What Are Air Leaks and Why They Matter
Air leaks are unintentional openings or gaps that allow outside air to enter and conditioned air to escape. They’re common in older homes but can exist in new ones too.
When warm or cool air escapes, your HVAC system compensates by working harder using more electricity or gas. This not only increases your energy bills but also wears out your system faster.
According to the U.S. Department of Energy, air leaks can account for up to 30% of energy loss in the average household. That’s a significant portion of your hard-earned money escaping into thin air.
Benefits of Sealing Air Leaks in Your Home
Sealing air leaks is one of the most effective upgrades for home energy efficiency. Here’s what you gain:
- Lower Energy Bills: Prevent energy loss through gaps and cracks.
- Improved Comfort: Eliminate cold drafts and uneven room temperatures.
- Reduced Carbon Footprint: Use less energy, reduce emissions.
- Longer HVAC Lifespan: Reduce strain on heating and cooling systems.
- Better Air Quality: Prevent dust, pollen, and pollutants from seeping in.
For a broader look at home energy improvements, check out our Home Energy Efficiency Guide 2025.
How to Find Air Leaks in Home
Before you can seal air leaks, you need to locate them. Here are the best methods:
1. Visual Inspection
Start by checking areas where different building materials meet, these are common leak zones.
- Around windows and doors.
- Along baseboards.
- Around vents, pipes, and electrical outlets.
- Where walls meet the ceiling or floor.
2. The Candle or Incense Test
Light a candle or stick of incense and move it slowly near suspected gaps. If the smoke flickers or drifts, air is moving then you’ve found a leak.
3. Use a Handheld Thermal Leak Detector
A thermal leak detector identifies temperature differences around doors, walls, and ceilings, helping you pinpoint leaks precisely.
4. Professional Energy Audit
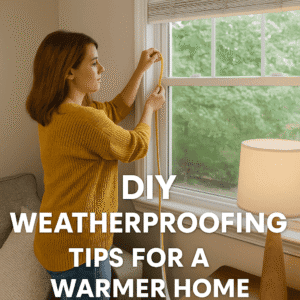
If you want detailed results, consider a blower door test as part of a professional audit. You can read more about DIY versions in our DIY Weatherproofing Guide.
Common Places to Check for Air Leaks
| Area | Typical Leak Source | Fix Recommendation |
|---|---|---|
| Windows | Cracked seals, old caulk | Weatherstripping, recaulking |
| Doors | Worn-out sweeps, gaps | Replace door sweeps, foam tape |
| Attic | Unsealed vents, light fixtures | Spray foam insulation |
| Basement | Gaps around pipes, foundation cracks | Expanding foam, caulk |
| Electrical Outlets | Wall gaps | Foam gaskets behind cover plates |
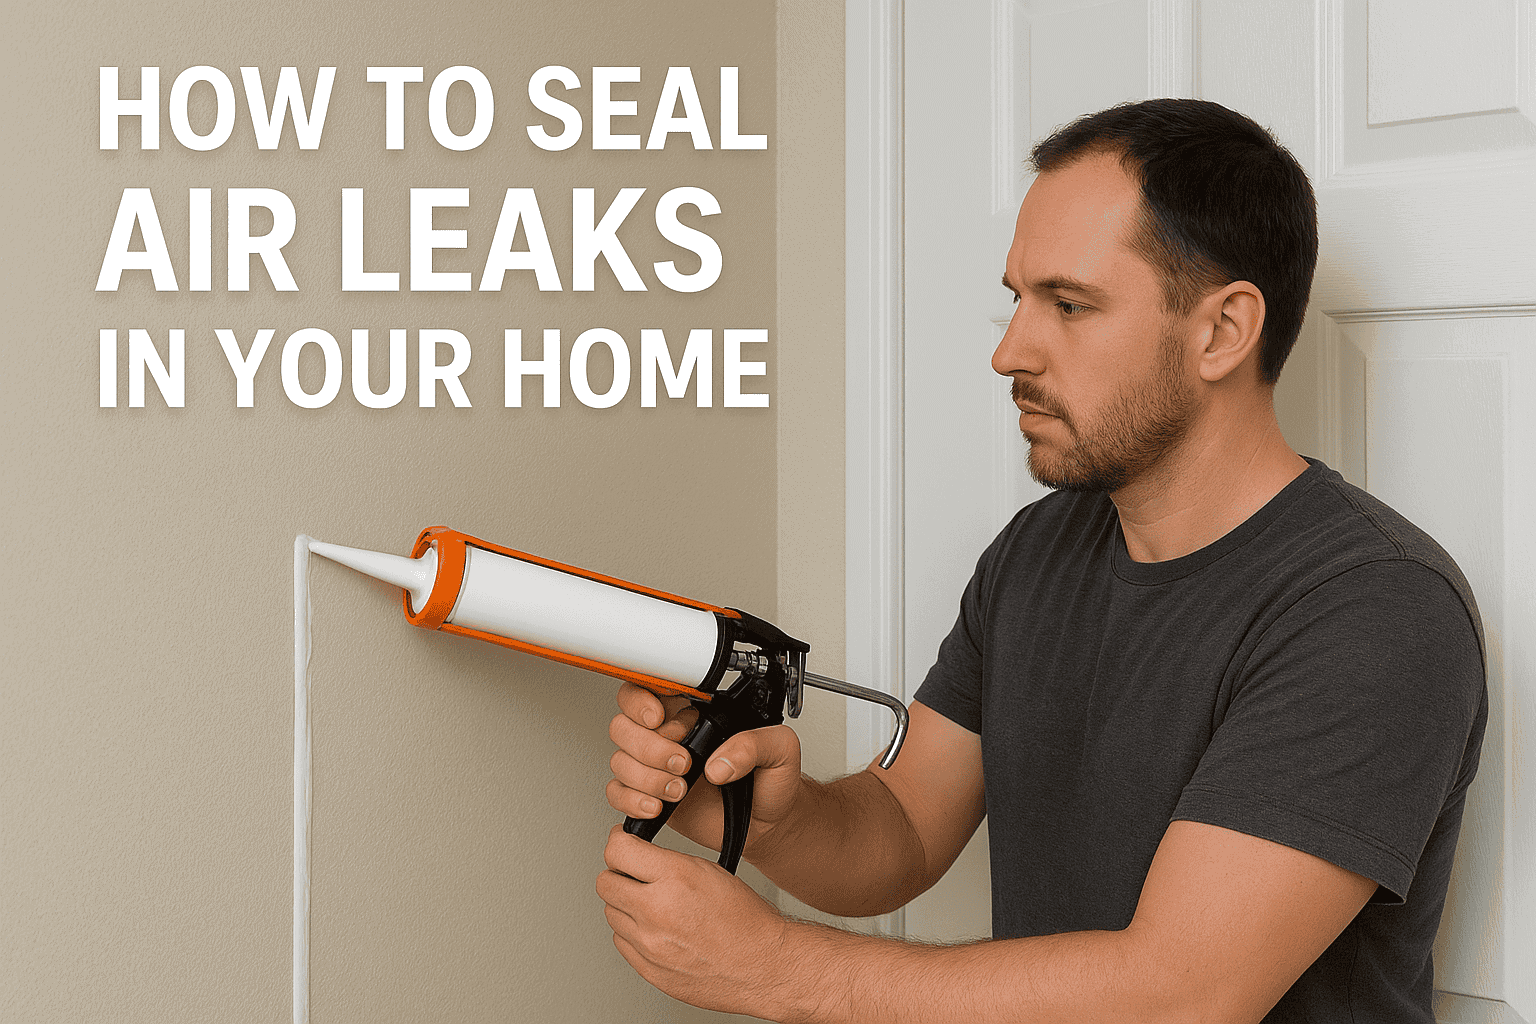
Step-by-Step: How to Seal Air Leaks in Home
Step 1: Gather the Right Materials
You’ll need:
- Silicone or acrylic latex caulk
- Spray foam insulation
- Weatherstripping tape
- Door sweeps
- Utility knife
- Caulk gun
- Putty knife
Step 2: Clean and Prepare Surfaces
Before applying sealants, make sure all surfaces are clean and dry. Remove old caulk and dirt using a putty knife.
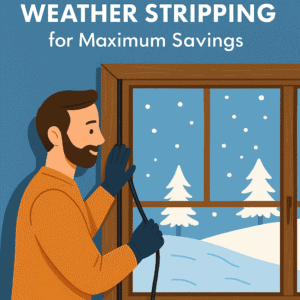
Step 3: Seal Gaps Around Windows and Doors
- Apply weatherstripping to movable joints like windows and doors.
- Use caulk for stationary gaps — between window frames and walls.
- For larger gaps, spray foam works best to create an airtight seal.
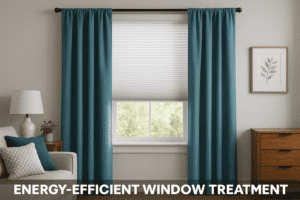
You can also pair this with energy-efficient window treatments for extra insulation benefits.
Step 4: Insulate Attic and Roof Penetrations
Attics are notorious for energy leaks. Look around:
- Exhaust fan openings.
- Duct joints.
- Chimney flues.
Seal small cracks with caulk and larger ones with foam insulation. Consider adding an insulation barrier if your attic floor lacks proper coverage.
Step 5: Fix Leaks in the Basement or Crawl Space
Basement air leaks often go unnoticed. Seal around:
- Ductwork and vents.
- Foundation cracks.
- Gaps where plumbing lines enter.
These improvements can complement your solar inverters for homes by reducing energy demand.
Step 6: Seal Electrical Outlets and Switches
Install foam gaskets behind outlet covers to block airflow. This small upgrade can make a noticeable difference, especially on exterior walls.
Step 7: Check Fireplaces and Flues
Ensure that the damper closes tightly when not in use. If the fireplace isn’t used often, consider installing a chimney balloon to block drafts.
Step 8: Inspect Ductwork
Air ducts can leak conditioned air into unused spaces. Seal with foil tape or mastic sealant — never duct tape, which degrades over time.
Step 9: Test Your Work
After sealing, repeat the incense test or use a thermal detector. You’ll notice less smoke movement and more stable indoor temperatures.
Additional Tips to Maximize Air Sealing Results
- Use caulk rated for the right temperature range — exterior caulk differs from interior types.
- Check seals annually as materials expand or contract over time.
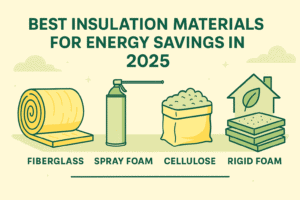
- Pair air sealing with insulation upgrades for even greater energy savings.
You can explore more ideas in our post on energy-wasting mistakes to avoid.
How Much Can You Save by Sealing Air Leaks?
On average, sealing air leaks can reduce your heating and cooling costs by 10–20% annually. In a typical home, that’s hundreds of dollars back in your pocket each year. Combine this with smart home devices for energy efficiency to monitor energy use in real time.

Do You Need Professional Help to Sealing Air Leaks or Should you go for DIY Home Air Sealing?
For most homeowners, air sealing is a manageable DIY task. However, consider hiring a pro if you:
- Have large or hard-to-reach leaks (attics, crawl spaces).
- Plan a full home renovation.
- Want a certified energy audit.
Professionals can ensure long-term airtightness using advanced sealing tools and infrared imaging.
How Air Sealing Improves Indoor Air Quality
Sealing gaps not only saves energy but also reduces:
- Dust and allergens entering your home.
- Humidity fluctuations.
- Pests sneaking through small openings.
It’s a win-win for comfort, health, and sustainability.
What to Do After Sealing Air Leaks
- Upgrade insulation for consistent thermal protection.
- Adjust your HVAC thermostat to reflect reduced heating or cooling needs.
- Monitor energy bills to track improvements.
Conclusion
Learning how to seal air leaks in home is one of the smartest moves you can make for long-term comfort and efficiency. By identifying problem areas, using the right tools, and applying sealing techniques carefully, you can dramatically reduce energy waste and improve your home’s overall performance.
Whether you’re tackling small window gaps or sealing large attic penetrations, each step brings you closer to a cozier, greener, and more affordable living space. Once you seal air leaks in your home, you’ll immediately notice fewer drafts, more stable temperatures, and lower bills — a true triple win.
So don’t wait for your next high utility statement. Start today, follow this step-by-step guide, and seal air leaks in your home once and for all.
Tags:
- how to seal air leaks in home
- sealing air leaks
- air leak repair tips
- DIY home air sealing
- reduce energy loss in home
- air leak detection and sealing
This post was on How to Sealing Air Leaks in Home: Step-by-Step Guide to Save Energy (2025)